Kit Review
Wingnut Wings 1/32 RNAS Sopwith Pup by Lester Kidd
Part Two
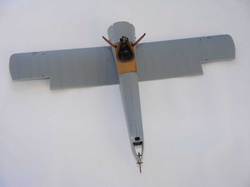
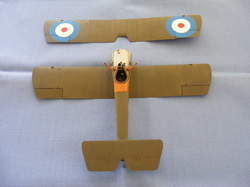
Next, the main upper surface colour was applied. This colour is known as PC 10 Khaki, (Pigmented Cellulose Spec. No 10), which is a broad term for at least five individual preparations each differing slightly from the other. As a rule of thumb earlier varnishes were somewhat lighter and on the olive/brown side, while later pigmented dopes were rather more brown oriented. As this Pup was flying earlier in the War, I opted for the Xtracolour “PC 10” olive/brown, which I judged about right. The Humbrol 155 is “too green”, & should be mixed with 098 Chocolate Brown to get an acceptable shade, depending on the timeframe being modelled.
Next, the main upper surface colour was applied. This colour is known as PC 10 Khaki, (Pigmented Cellulose Spec. No 10), which is a broad term for at least five individual preparations each differing slightly from the other. As a rule of thumb earlier varnishes were somewhat lighter and on the olive/brown side, while later pigmented dopes were rather more brown oriented. As this Pup was flying earlier in the War, I opted for the Xtracolour “PC 10” olive/brown, which I judged about right. The Humbrol 155 is “too green”, & should be mixed with 098 Chocolate Brown to get an acceptable shade, depending on the timeframe being modelled.
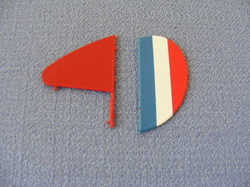
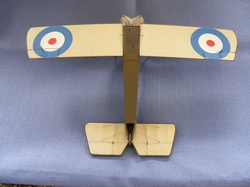
I applied a very light coat of XF51 to act as a primer, then 2 coats of Xtracolour PC 10. This went on the upper surfaces of the wings, tailplane & elevators, & over all surfaces on the fuselage. The fin was painted red, XF7, & the rudder CDL. All surfaces upper & lower were given 2 coats of Testors lacquer gloss in preparation for the decals. I still wasn’t happy with the “gloss”, so brush painted Johnson’s Klear over the surfaces that the large roundels were applied to. The wing roundels are shaped so that they wrap around the vertical edges of the aileron bay sections. To help the decal settle down I heated a damp cloth in the microwave until hot, then placed over the upper surface of the top wing decals. They immediately conformed to all surface configurations & wrapped around the aileron vertical edges. Very neat. BUT, the excessive heat caused a chemical change in the Johnson’s Klear & it turned a bright chalky white!! I tried a few liquids to get rid of it, & eventually was successful with X20A, acrylic thinner. So, be warned!! Needless to say I did not use the heated cloth for the other wing decals. They did go down without any trouble or use of decal solvents. The fin decal was applied to both sides & wrapped around all edges. When dry the excess was removed with a fine sanding stick. All surfaces were next painted with Testors matt clear.
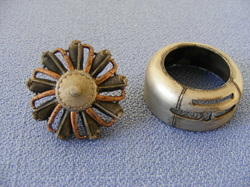
The LeRhone 9c 80hp engine was assembled and spark plug wires attached to the rear. It was sprayed dark aluminium, with the cylinders in darker gunmetal, and the copper intakes in dark copper. The front cowling was also painted. A wash of raw umber & black over the engine, cowling, & front fuselage metal sections, finished the job.
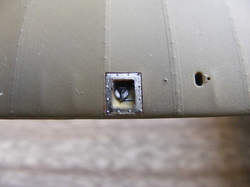
The 4 pulley inspection panels at the front edges of the wings were painted as per instructions & the clear plastic cover applied over the top.
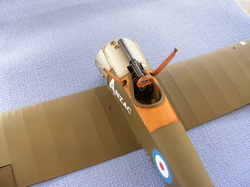
The Vickers gun with padded windscreen was assembled and painted, leather for the padding, matt black then graphite powder for the Vickers. The barrel end was drilled, & the p/e cocking handle attached. This assembly was glued in place.
The wing struts have been base painted in XF59, then brushed with burnt sienna oils.
I then decided to apply the rigging to the wing ailerons, top of the top wing & underneath the bottom wing. Next I applied the tail skid steering cables & elevator control cables on the underside of the tailplane.
I used elastic thread & CA glue. Its all a bit of a learning curve & my methods & techniques will improve with more practice!
Assembly will be part 3.
To be continued...
