Kit Review
Wingnut Wings 1/32 RNAS Sopwith Pup by Lester Kidd
Part One
I selected the RNAS kit as each of the 5 options is different, as opposed to the RFC kit where they are all much the same. I opted to build option “C”, a Sopwith built type 9901 Pup , N6185, flown by 21 yr old Australian, FSLt. C.J.Moir, of4(N) Sqn. He claimed 2 enemy aircraft in April 1917, but was shot down & killed near Zeebrugge on 10 May 1917.
You need to select your option before starting.
Building WW1 aircraft has many different aspects to it than building aircraft of other eras. They were made of wood & linen, & held together by struts & wires. The flying surfaces were controlled with wires leading directly from the cockpit controls, & were very visible. The framework of the aircraft was made up of wooden ribs & spars, covered with clear doped linen (CDL). Light could pass through the linen, & when viewed from the bottom, the ribs & spars of the wings could be seen as a shadow or dark image. The wing structure was held & supported using wires attached to the struts using turnbuckles; the control surface wires were attached to control horns, which protruded above and/or below the aileron or elevator.
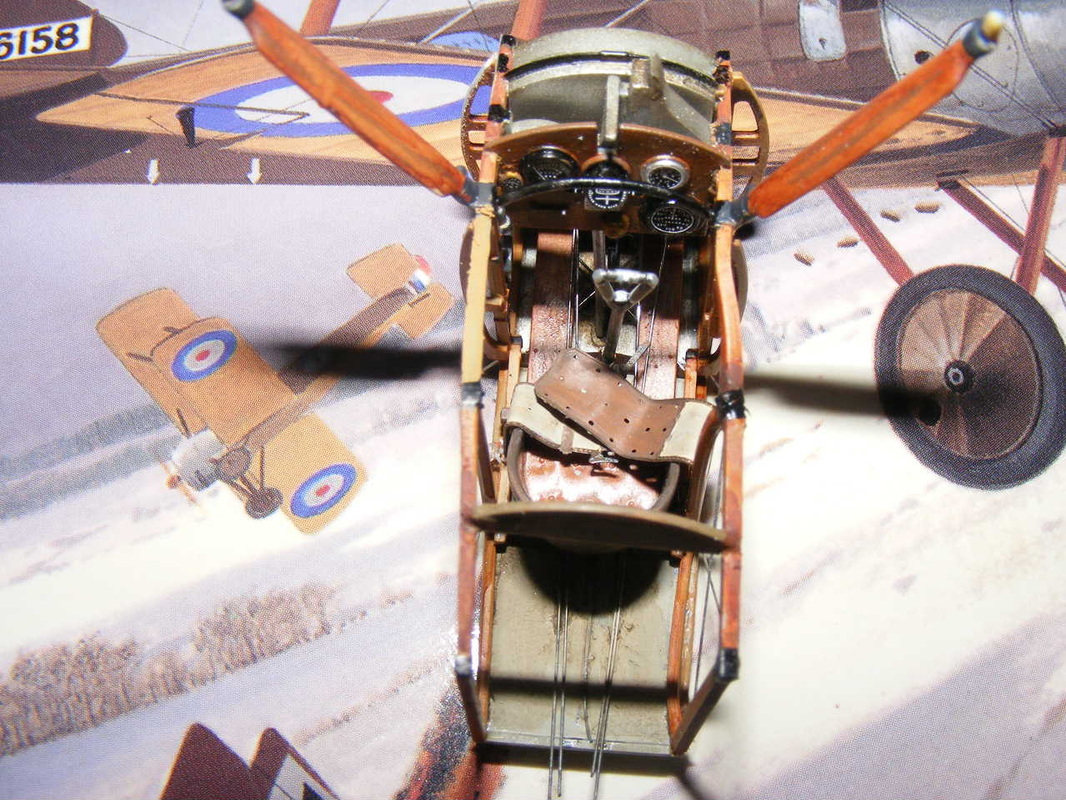
So, on to the build, which starts with the cockpit. The WNW instructions are the best you will ever get, but you need to be painting as you go, so keep all your wood colours & oils, black & metallic colours very handy. I followed the instructions with XF59 basic wood colour with mixtures of burnt sienna, basic earth & yellow ochre to simulate wood graining. All parts go together without problems. I painted the interior fuselage sides with a green colour first then CDL, XF55; this simulates the green PC10 exterior colour casting a dark shadow behind the linen. I used elastic thread to simulate the brace rigging in between the cockpit framework, & 2.3mm guitar string for the control cables from the foot pedals & control column, under the seat, running aft.

I painted the seat & cushion using Vallejo leather paints, annealed the p/e seatbelts & painted leather & XF52. They really did look like real leather.
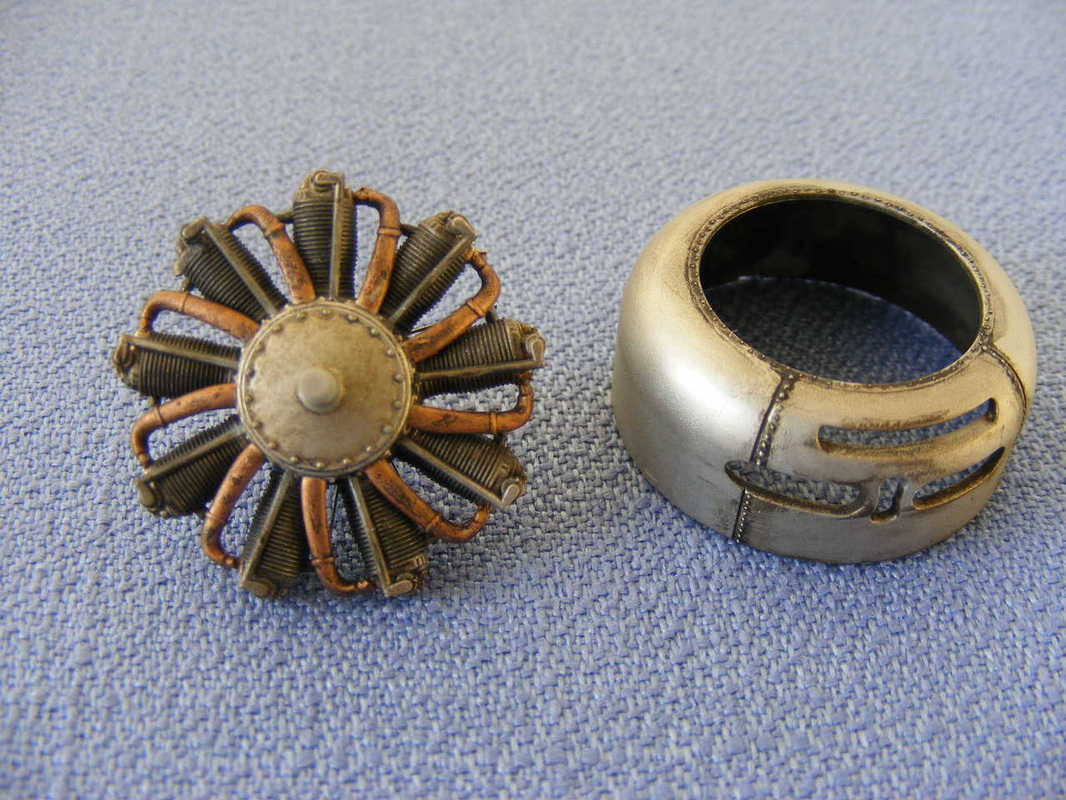
Next I fitted & masked-off the engine cowlings, put together the engine & painted all with Alclad dark aluminium, as well as the front cowling.
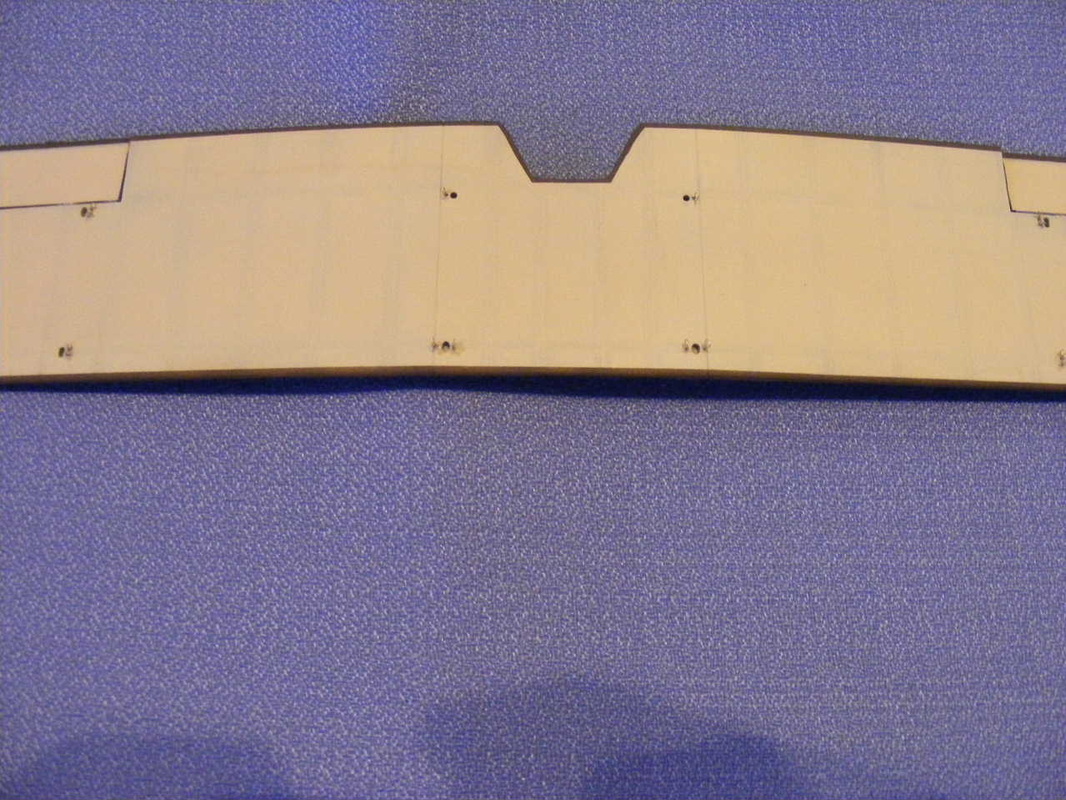
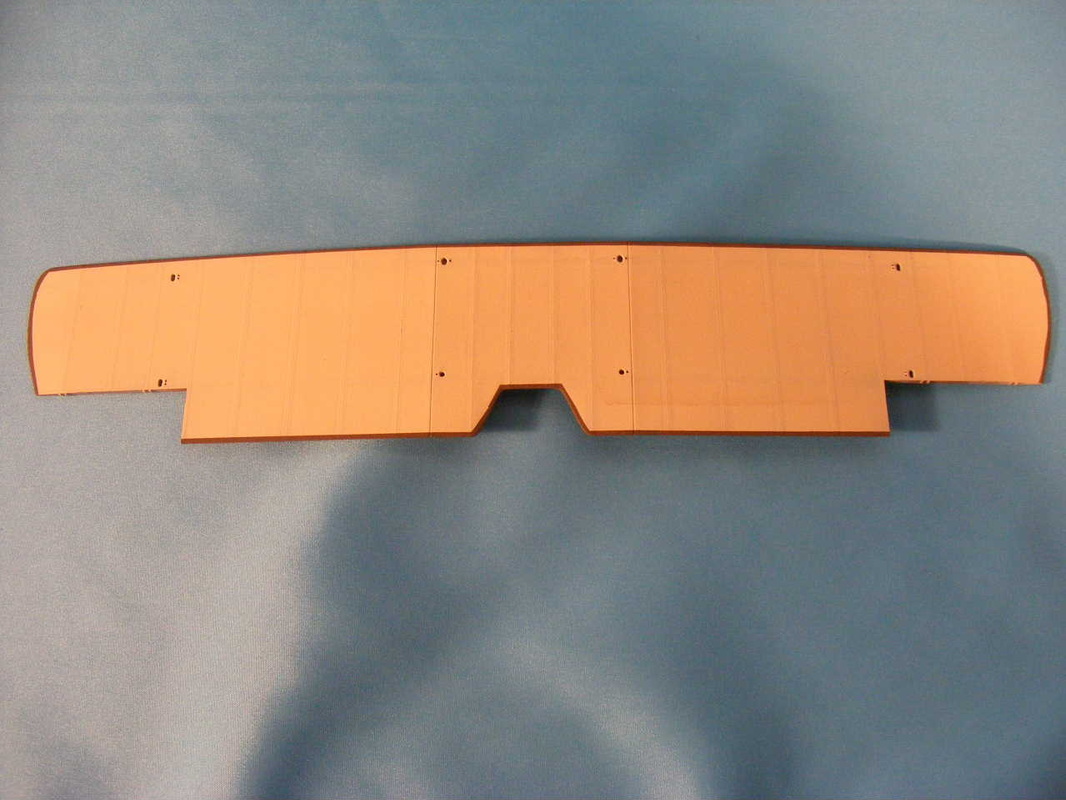
Before painting the underside of the wings & tailplanes I pre-shaded the ribs & spars (only 2 in the top wing), by ruling lines with a lead pencil each side of each rib & spar, then filled in between the lines with a lead (retractable type) pencil, then brushed over the lead with a shortened stubby paint brush. I used xtracolour enamel CDL with 20% Humbrol 121CDL added, to give a slightly tan look. The wings were then masked off & the underside edging painted PC10, the top surface colour. (I used XF51 to paint the edging).
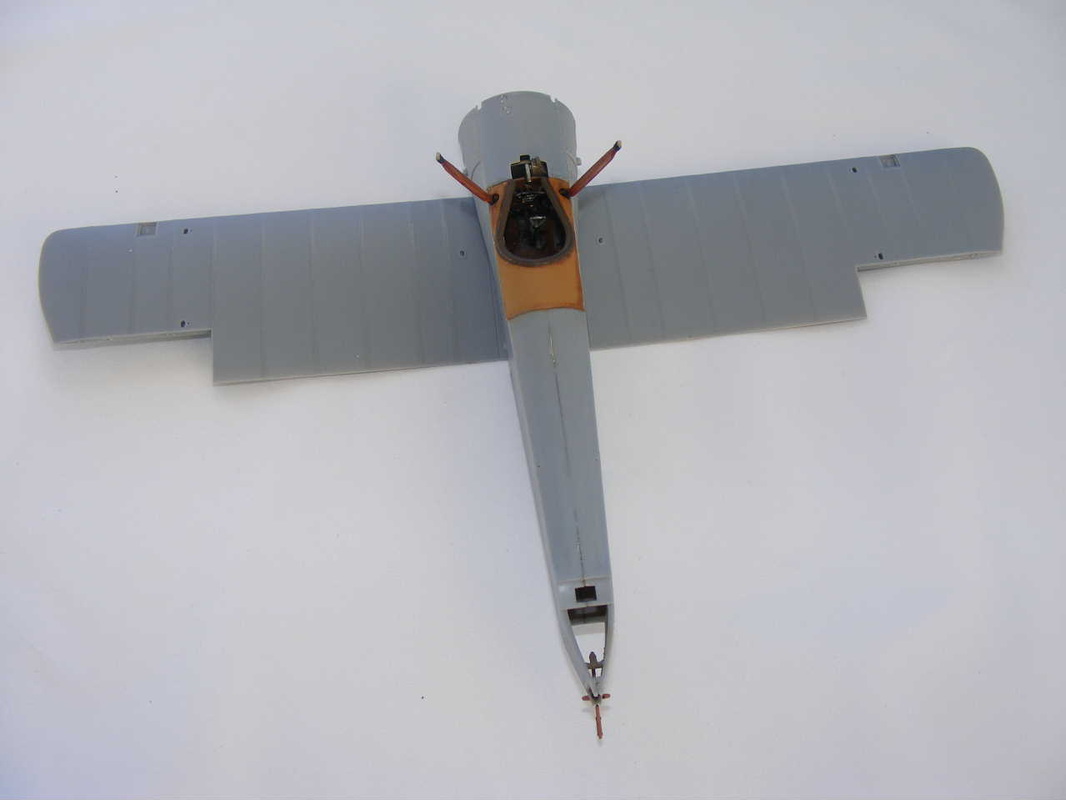
Warning: fitting the bottom wing to the fuselage is not easy. I had to sand the cockpit floor to ½ it’s thickness, as well as the floor/bracing sides before it would go even close to fitting (unusual for WNW kits).
Sand the floor right from the start, bottom & sides. This will save a lot of trouble later on!
This is the build so far. Try it; you will love the challenge!!
Good luck.
Good luck.
